We have been hearing a lot about security and privacy during the last year. This has become an increasingly important subject because of how many people use a smartphone in addition to their computer(s). What this means is that there’s a lot of sensitive data stored locally and in the cloud, making it difficult to store passwords, usernames, and payment information to a secure location.
The best way to secure your private data is to use a reliable and proven password manager. I have to admit that even I was hesitant to use one of these applications due to my doubtful nature, but I never looked back once I started using LastPass. I believe now that using a password manager should be an essential thing for every smartphone and computer user.

In this article, we will be looking at one of the better-known password managers, called Dashlane. More specifically, we will be looking its newest version (4.0), which brought numerous improvements as well as changes to its UI. So, continue reading to learn more about this OS X app.
The Basics – Dashlane 4
Interestingly enough, Dashlane is free to use, with one important (and very limiting) condition: You can only use it on one device. On the other hand, you can find different versions for pretty much any operating system and mobile platform. To unlock syncing and other premium-labeled features, you will need to pay $39 per year. With this said, we will be taking a look at its premium version.
The UI Design
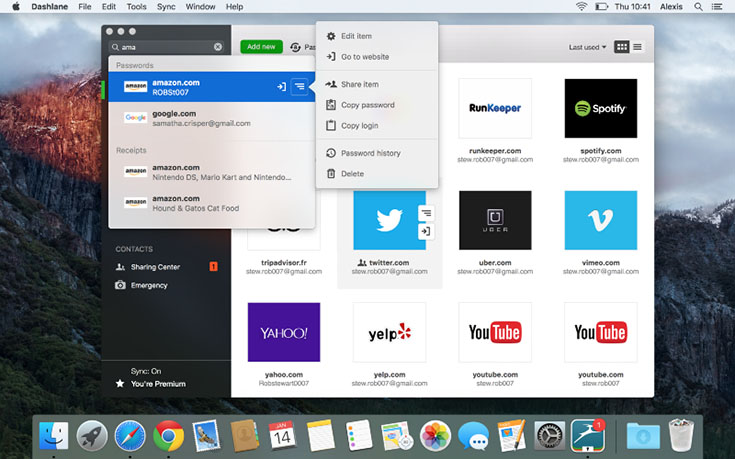
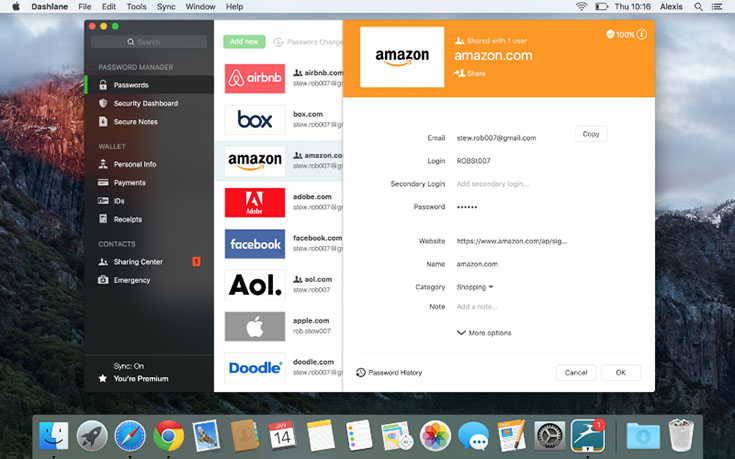
In case you never used Dashlane before, or even if you did, you will be surprised by how nicely designed this application is. The main portion of the screen is where you will see your entries, represented by large thumbnails. As expected, you can change this layout and make it more “traditional”. On the left side of the screen, you will see a sidebar with different tools and options.

It is not an easy task for a password manager to be intuitive and easy to use, mostly due to its nature. In case you dig up a password easily, someone who wants your data will also find it easily. However, Dashlane managed to overcome this by using advanced login methods as well as using beautifully designed UI with clearly labeled tools and categories.
All in all, this is one of the nicest designed password managers that I tried.
Getting Started
The first thing that you’ll want to do is to import your existing passwords. In case you have some sensitive data stored in your web browser, you can easily export it from Chrome, Firefox, and Safari. Additionally, passwords and other data can be directly imported from other similar applications as well.

What is also very important is to create a strong master password. Even though Dashlane requires only eight characters, my strong recommendation is to create something lengthier. You can also enable two-factor authentication, and choose whether the application will require the second factor during every login, or only when someone tries to log in from a new device.
Tools & Security
Once you import all your passwords, or after you manually enter them, it is time to let Dashlane analyze them. This app can help you fix any weak passwords, as well as those that you use on multiple websites.
When you click on the Security Dashboard from the sidebar, you will see a list of your entries with a percentage rating of your security level. You can organize this list in more ways than one. For example, you can filter strong or weak entries or the ones that you haven’t used in a while. There are actually five categories when it comes to Dashlane’s rating system: Very Unsafe, Unsafe, Not So Safe, Safe, and Super Safe.

When you choose to change any password, just click on it and you’ll be redirected to the change password dialog webpage, and now you can use Dashlane to automatically generate a strong password.
By now you must be wondering if there are any other helpful tools. Well, Dashlane comes with advanced form-filling, just like other password managers. This application is able of detecting different input fields, so you can copy-paste information like your name, email, phone, address, company, and website. You just click on a tiny impala icon in the easy entry field and choose what you’d like to paste.
When it comes to secure payment, this is maybe where this password managed shines the most. First, you need to enter your credit cards, bank account or PayPal accounts that you’d like to use. When it comes to making a payment, you will see images of your cards, with proper colors and logo. Just click on the one that you need and all your information will be automatically pasted. The same goes for other “visual” documents like passports, driver’s license, and other IDs.
Synchronization
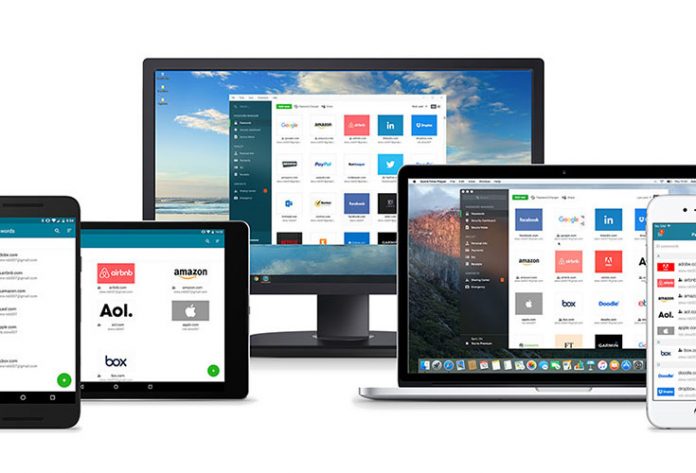
Synchronization between different devices and platforms is not a new thing when it comes to password managers. When it comes to Dashlane, the good news is that you can use it on your OS X, Windows PC, as well as any iOS or Android device.
Each piece of information that you store will be safely synced across all your devices. When it comes to iOS, note that you can use Dashlane only with those apps that support the Dashlane App Extension. Don’t worry, about 180 apps support it, including apps like eBay, Amazon, Flipboard, Twitter, and Uber.
I have to say that I am very satisfied with how this application synced my data across different devices, as well as how capable and nicely designed the applications on different platforms are.
The Conclusion
In case you are looking for a reliable, powerful, and nicely designed password manager, look no further than Dashlane 4.

My suggestion is to download the free version and use it only on one of your devices. This way you can see if you like the workflow. After that, you can purchase the full version. For $39 per year, this sounds like an excellent deal.
[vsw id=”yQcBwcrY5Cc” source=”youtube” width=”735″ height=”370″ autoplay=”no”]


