Apple’s Notes app on iOS and OS X was one of those apps that we all knew were there, but hardly ever used them. As many users believed, this was due to the company’s attempt to make space for third party applications. This could be seen by taking a look at the iOS App Store, where you can find thousands of highly-capable note taking apps. However, this changed with iOS 9 and OS X El Capitan.
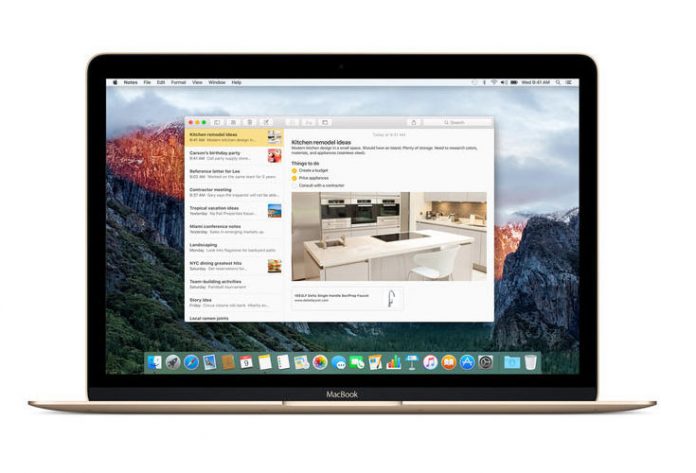
Apple’s new Notes app has been upgraded and now has enough power to compete with some of the best-known note taking apps like Evernote and OneNote. Still, many new Notes users lack a proper tutorial on how to get most out of the app, so we have come up with a few tips on improving your workflow.
Import Into The Notes App
When new Notes was first launched, the first obstacle was the inability to transfer your existing data. It is easy to see why this made many users wait. However, with OS X El Capitan 10.11.4 upgrade, the Notes app comes with the ability to import data from Evernote.

Considering that Evernote is the most popular third-party note-taking solution, the adoption of this file format is a big deal. However, we would like to see other formats as well.
To import your data, open the Notes app, and go to File > Import Notes.
Use Checkboxes
Even though you can easily create to-do lists by simply writing a list of items, wrapping up a task is more satisfying when you can check it off from your to-do list. This is why the Notes app comes with the ability to add checkboxes.
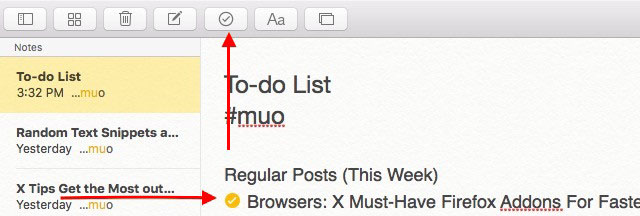
To do this, you need to place the cursor on any line that makes up a task and click on the Make a checklist icon in the top-positioned toolbar. Take a look at the included image to find the right tool.

This will prefix the task with a blank circle, so you can easily check it off once you’re finished. Completed tasks are highlighted in orange and with a tick mark.
There is also another way to add checkmarks. Use Shift+Cmd+I to add a checklist and then Shift+Cmd+U to mark an item as complete.
Add URLs to Notes
Just like with Evermotion, the Notes app comes with the ability to store web page links in your notes. This is a convenient way to store your Web-based information, without cluttering up your bookmarks.
This is done by copying a URL to a new note and hitting the Enter key to make the URL clickable.
However, this is another way to this. If you stumble across an interesting link while browsing the Web, you can use the OS X Share feature to send the URL directly into the right note in the Notes app.
While browsing the Web using Safari, click on the Share icon in Safari’s toolbar and select Notes from the drop-down menu. This is where you will see a dialog box where you can select a note and save a link to it.
Use Hashtags
Sadly, hashtags are not currently supported by the new app as many of us would have imagined. This is a big setback for the Notes app in comparison to Evernote. Still, there is a trick that you can use to create fully working hashtags.

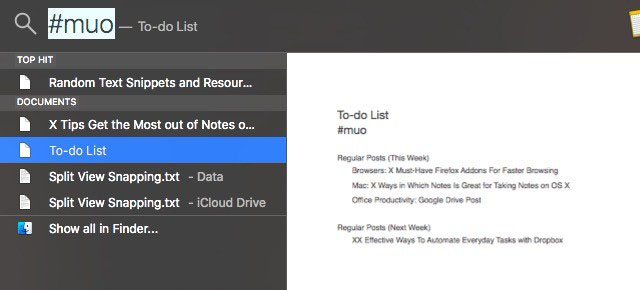
You can enter hashtags at the end of your note (or anywhere else) and then you can search for them using the search box in Notes or using Spotlight. This is a quick and convenient way to filter your notes and to find exactly what you’re looking for.
Easily Insert an Emoji
We live in the era of emojis. This is why Apple introduced new sets of emojis, available from any app where you can write some text.
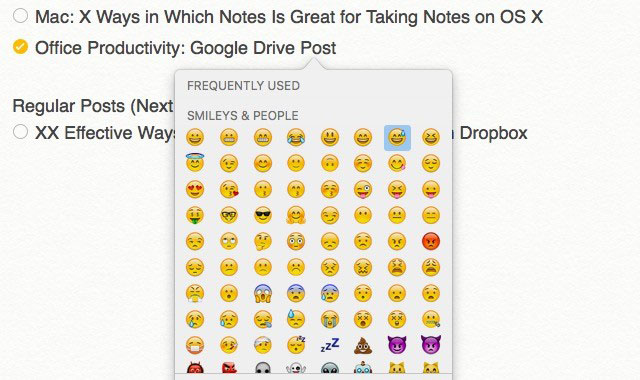
When it comes to the Notes app, there is a quick way to access your emojis. Simply hit Cmd+Ctrl+Space. You will see the emoji keyboard, from where you can choose emojis by clicking on them.

Interestingly enough, this shortcut is not limited to the Notes app, but instead, can be used in various text fields across the operating system.
Having Trouble Reading Your Notes?
You must have noticed, especially If you use one of the Retina displays, that the default font size in Notes is ridiculously small. The good news is that Apple acknowledged this problem, and it will be fixed once macOS Sierra finally gets released. Until then, there is a solution to increasing the font size on a note-by-note basis.
To do this, you need to select any note text and click on Format > Font > Bigger. You can also scale text up and down using two shortcuts: Cmd+Plus for scaling up, and Cmd+Minus for scaling down.
Sync Your Notes to iCloud
This piece of advice is for those of you who are using iOS devices as well. Since Notes is a part of the Apple ecosystem of apps and services, your notes can be pushed to your iCloud account.
To make sure that everything is in the right order, go to System Preferences > iCloud, which is where you need to ensure that the checkbox next to Notes appears selected.

Interestingly enough, you can also sync your notes with your Gmail account. This can be done by going to System preferences > Internet Accounts. Now select your Gmail account from the sidebar and check the box next to Notes. This will make your Notes appear as emails in Gmail but will be tagged with the label Notes.
Conclusion
The Notes app does lack a few features that power users would like to have like tags, Markdown support, and sorting options. However, this app is on the right track to becoming a primary note-taking app for people who are immersed in the Apple ecosystem. Let’s how that macOS Sierra will continue the Notes app evolution.


